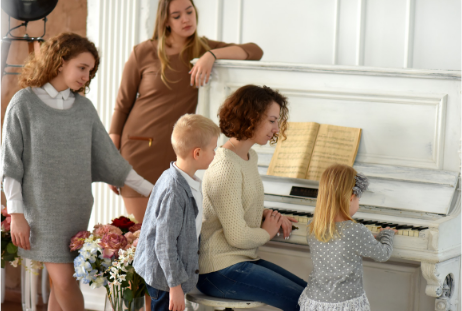
facebooktwitterpinterestinstagramyoutubeYou know, long before I started teaching parents how to teach their kids to play the piano, I used to help out in my mother’s studio as well as my aunt’s piano studio as a teenager. There I used to teach kids of all ages on a...
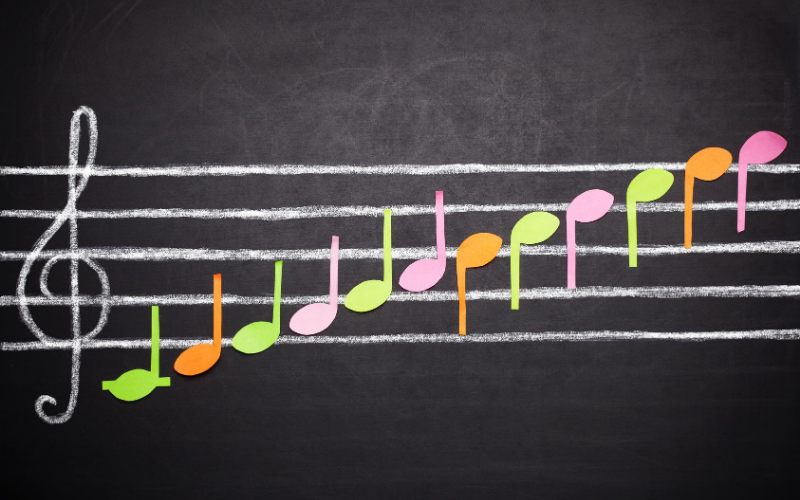
Pelicans, Dolphins & Writing Music Notes With Technical Precision
Pelicans, Dolphins & Writing Music Notes With Technical Precision
See below for a Free Printable Pack to go with the post.
That is a very unusual post title don’t you think?
What do pelicans and dolphins have to do with writing music notes?
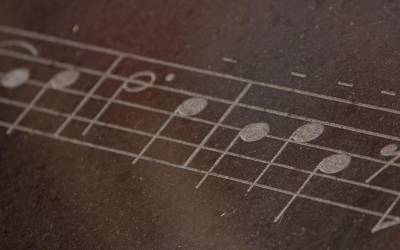
Well, today I thought that I should address one of the biggest problems kids face at music theory exams, when trying to write music notes with technical precision.
They always get confused about the direction of stems, flags, beams and noteheads.
There is a right and a wrong way to write noteheads, stems and even flags, and in this post, I’m going to cover it and make it so easy that you, even though you may not have learned any music, will be able to teach them and your kids will never be confused about stem, flag or notehead directions ever again.
Don’t forget to download the music theory worksheet included at the bottom of this post.
Ready?
Let’s get started, learning how to determine the direction of stems on notes.
All you’ve got to remember are the words Pelicans and Dolphins when it comes to note stems
Why Pelicans?
Pelicans as you know are birds and birds fly.
The word pelican starts with the letter ‘p’.
Teach your kids to remember the word pelican, and the letter ‘p’ because notes written on or above third line in the staff look like the letter ‘p’.
Their stems go down on the left side of the notehead.
Isn’t that easy?
They never have to be confused agin, if they remember that all notes on or above (flying in the sky) the third line have their stems going down just like the letter ‘p’ in the word pelican (a bird that flies in the sky).
Why Dolphins?
I think you can guess this one.
Dolphins are a type of fish that swim in the sea.
Dolphins start with the letter ‘d’.
Every note on or below (swim in the sea) the 3rd line has its stem going up, just like the letter ‘d’.
The stem goes up on the right side of the notehead.
Easy isn’t it?
No more confusion.
Did you notice that noteheads on the 3rd line can be either ‘p’s or ‘d’s?
Yes, that is correct, they can have their stems going either up or down.
What about flags then?
The flag that is written with single eighth notes are always on the right and if the stem goes up the flag remains on the right side and goes down.
On the other hand if the stem goes down, the flag still remains to the right side of the stem but this time it goes upward.
Now use the music theory worksheet that I have made available and have your children learn this very important concept.

Karen Cadera
Founder/Creator
Mom, Teacher, Minimalist, Zero Waste Enthusiast, Multi Pod.
My daughter loved the games, but there were also worksheets and videos. The weekly lesson plans were complete, and I never questioned what I should be doing next.

Download the FREE Music Theory Worksheet
Articles That Maybe Of Interest To You

6 ‘No Fail’ Strategies To Increase your Child’s Success Rate When Taking Offline Music Classes
5 ‘Ultra Cool’ Games To Play Once Your Child Has Learned His/Her Way Around The Keyboard
facebooktwitterpinterestinstagramyoutubeSee below for a Free Printable Pack to go with the post.Once your child is able to name all the notes on the keyboard, it is imperative to play games in order to reinforce the learning and also to ensure quick recall and build...

Help! I’m Overwhelmed – 7 ‘Tightly Held’ Secrets Of Well Organized Homeschool Moms
facebooktwitterpinterestinstagramyoutubeSee below for a Free Printable Pack to go with the post.Are you just like me? In the past I used to follow tons of homeschool bloggers and downloaded hundreds of printables, purchased over two dozen courses for my kids and was...